04 — floor plans
A live map
of your space.
A live map of your rooms and desks, connected to bookings and check-ins. The backoffice, the Member App and your Screens all work from the same rooms and desks.
 Live · app.tersos.io
Floors and shapes
Upload each floor’s plan and link its shapes to rooms and desks.
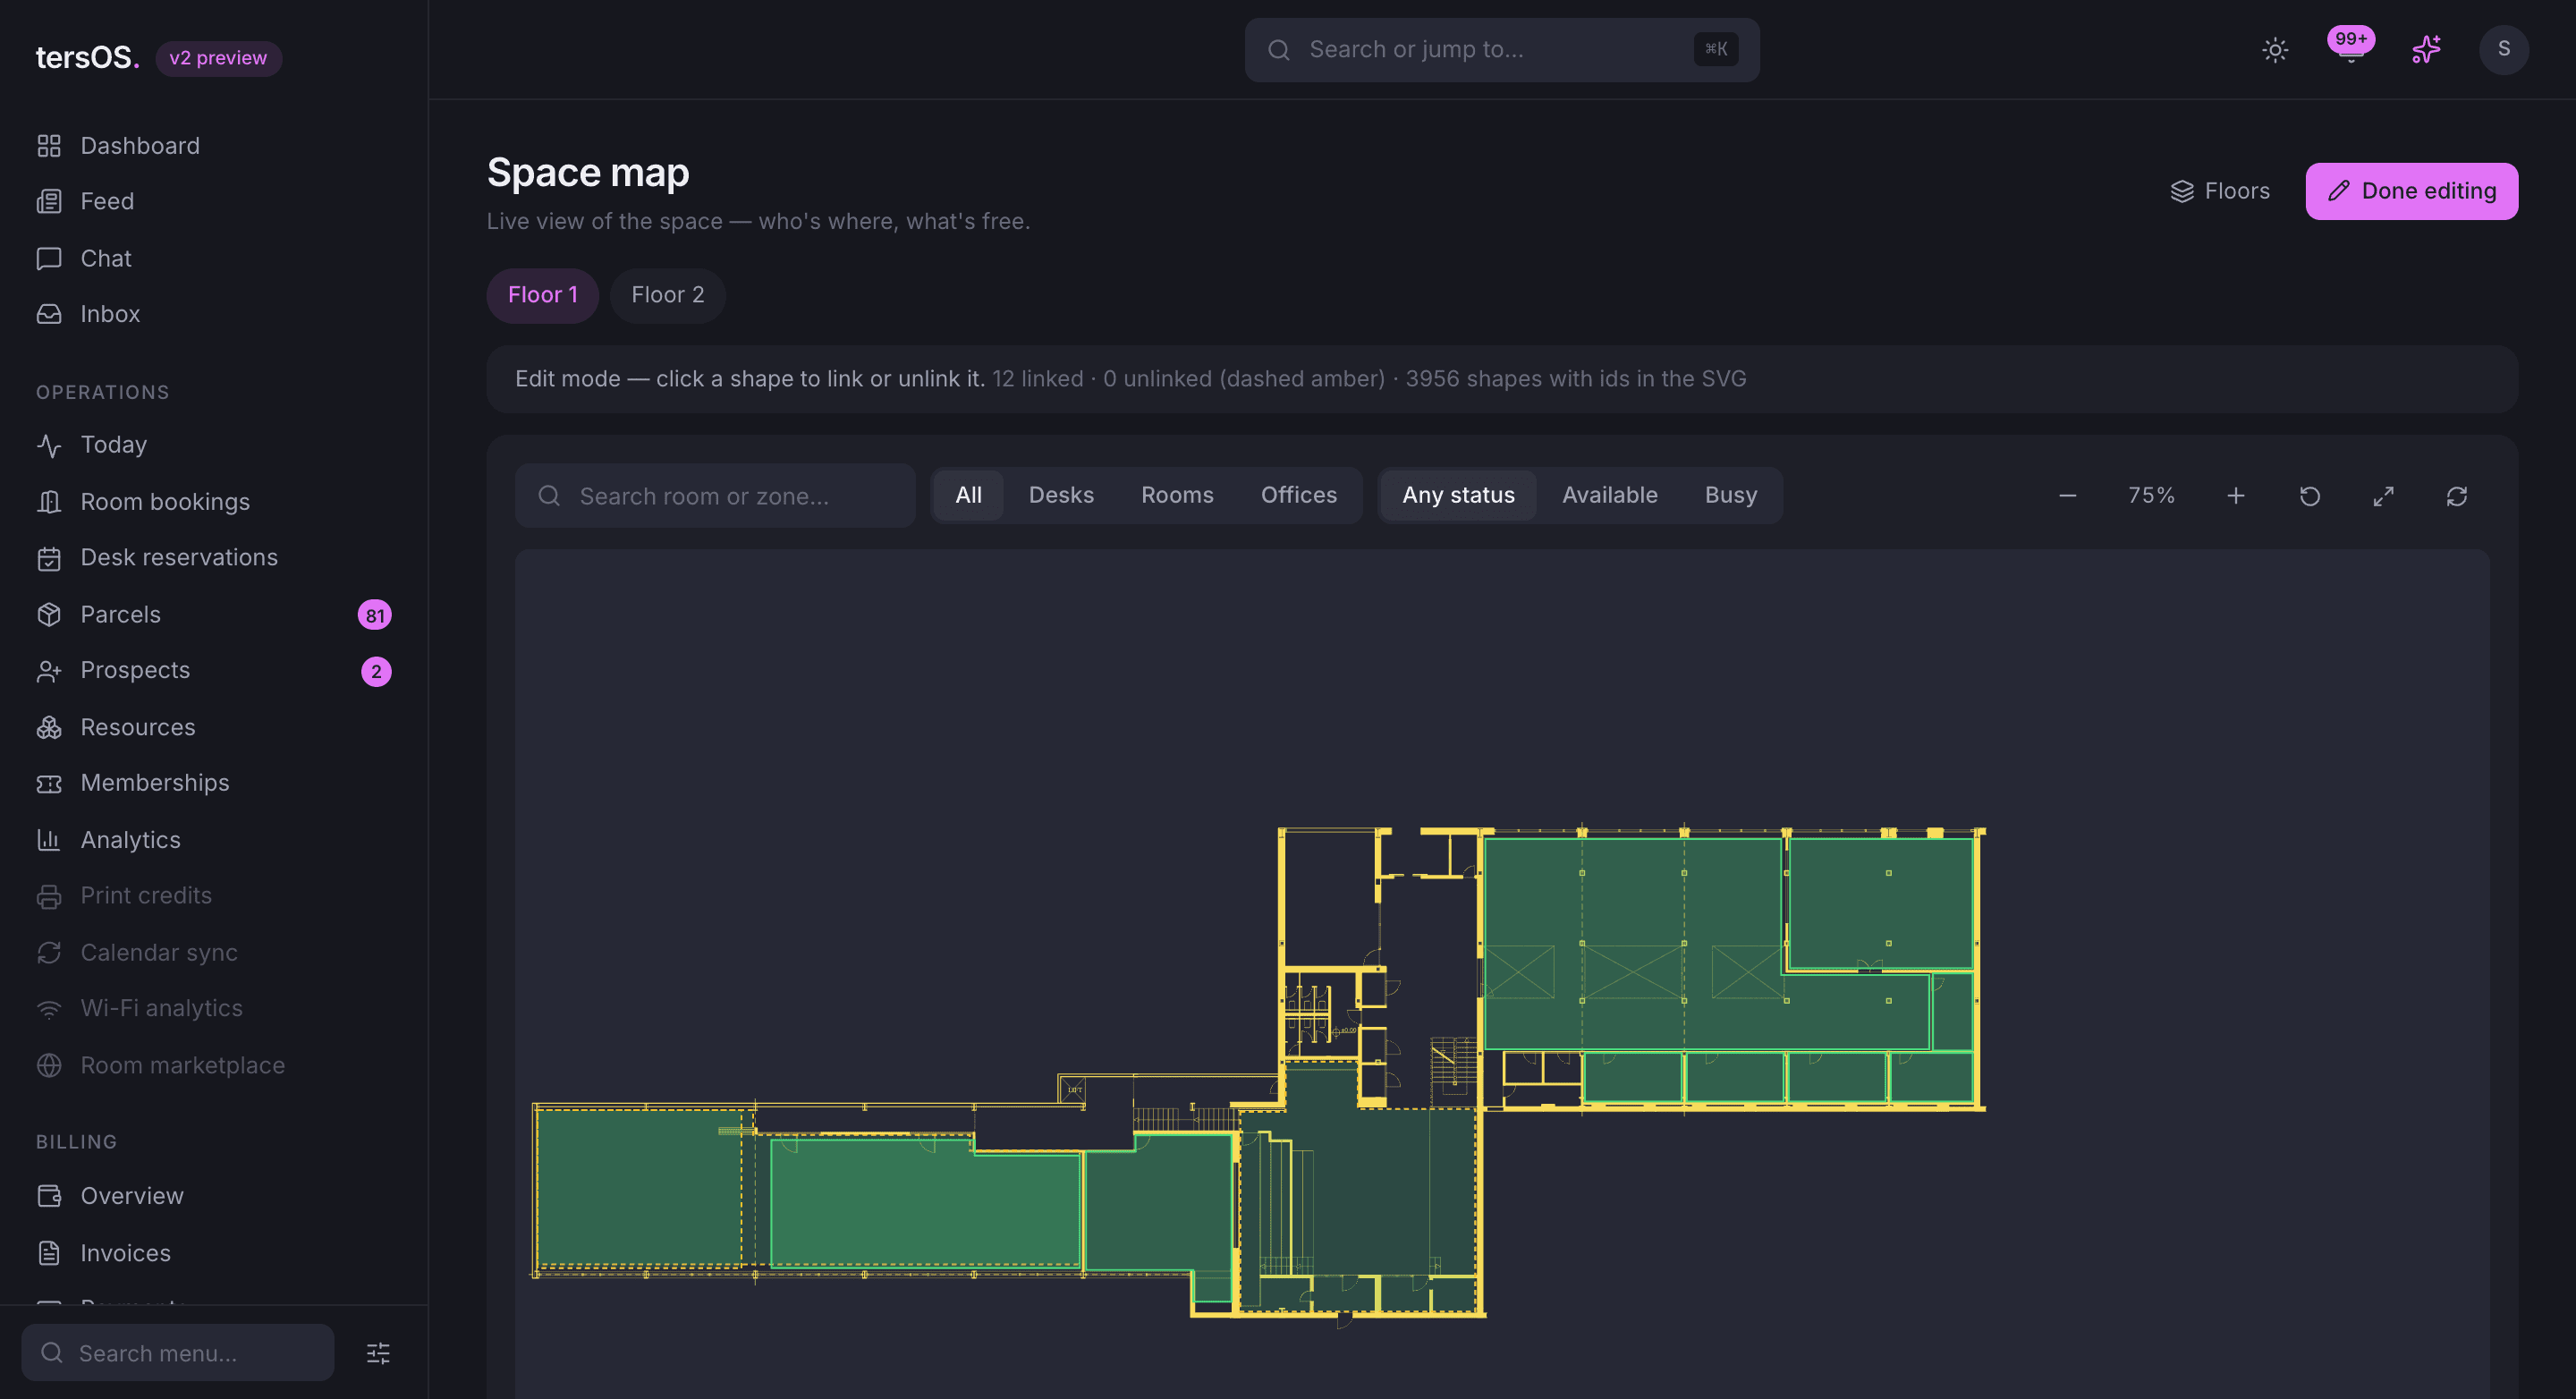
A floor is a plan you upload, as an image or a drawing file. In edit mode, click any shape on the plan and link it to a meeting room, a desk zone, an office or an event space; unlink it later if you like. The shape then takes that room’s colour and live status, here and on your Public Hub.
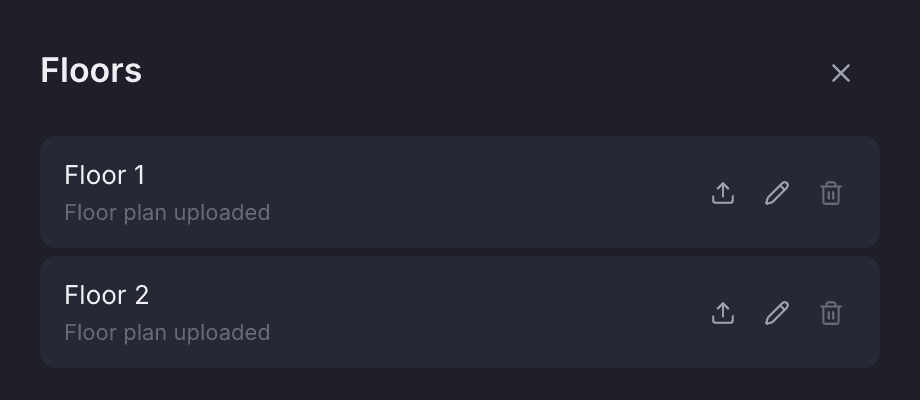
Floors, with their plans
Rename a floor, replace its plan or delete it from the Floors panel.
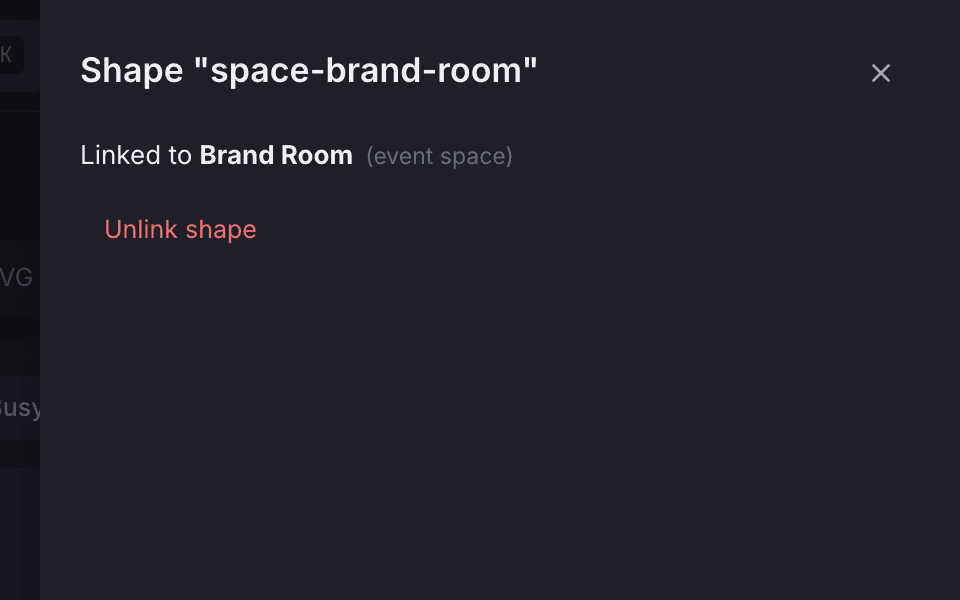
What a shape is linked to
Click a shape in edit mode to see which room it is linked to, or link it to one.
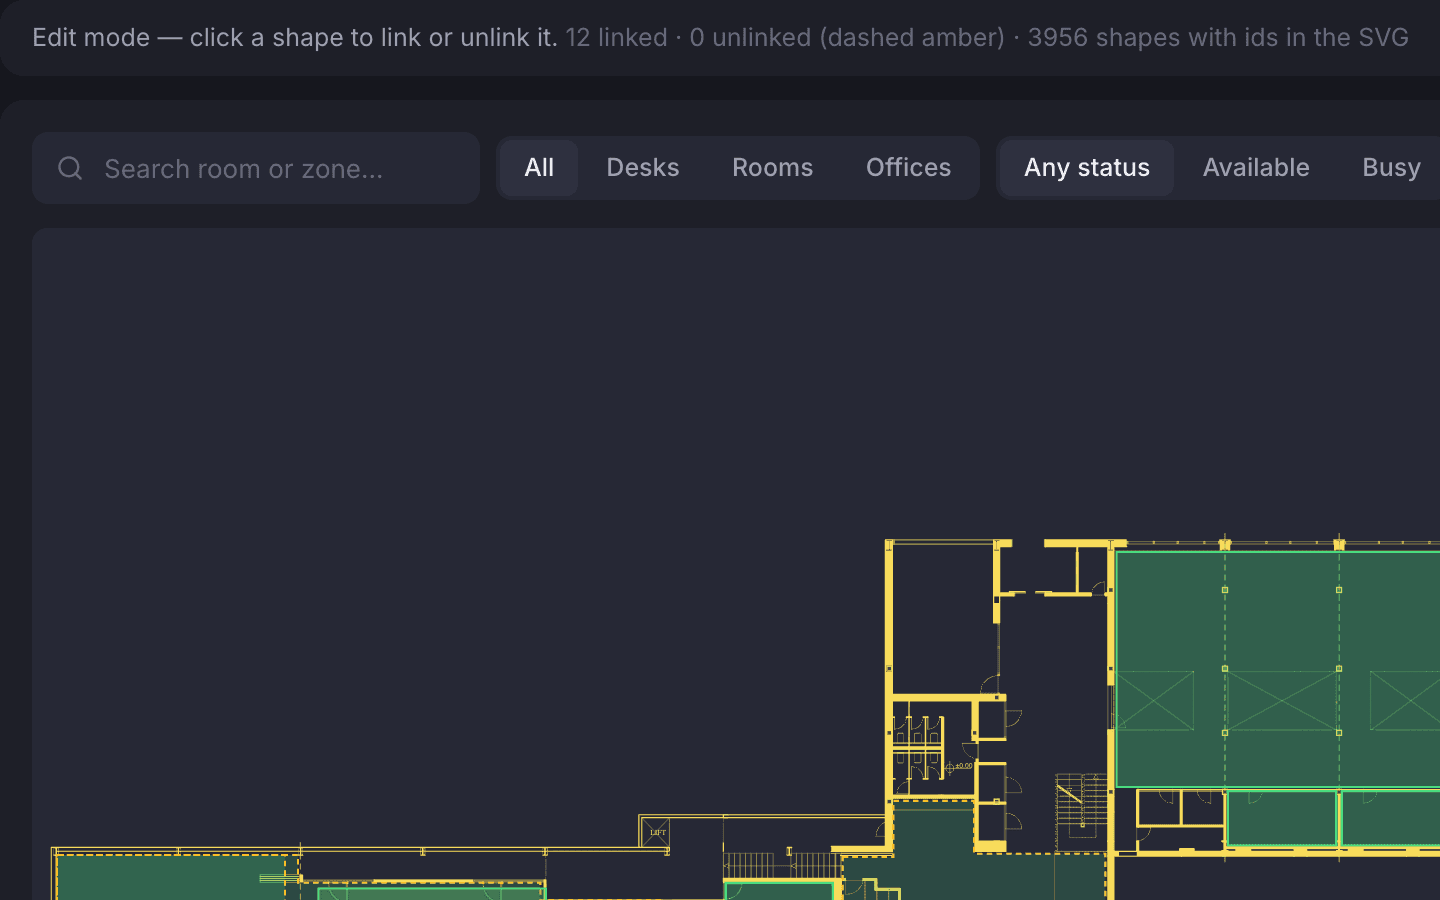
Edit mode counts what is linked
The banner counts the linked shapes and draws the unlinked ones in dashed amber.
The landing screen
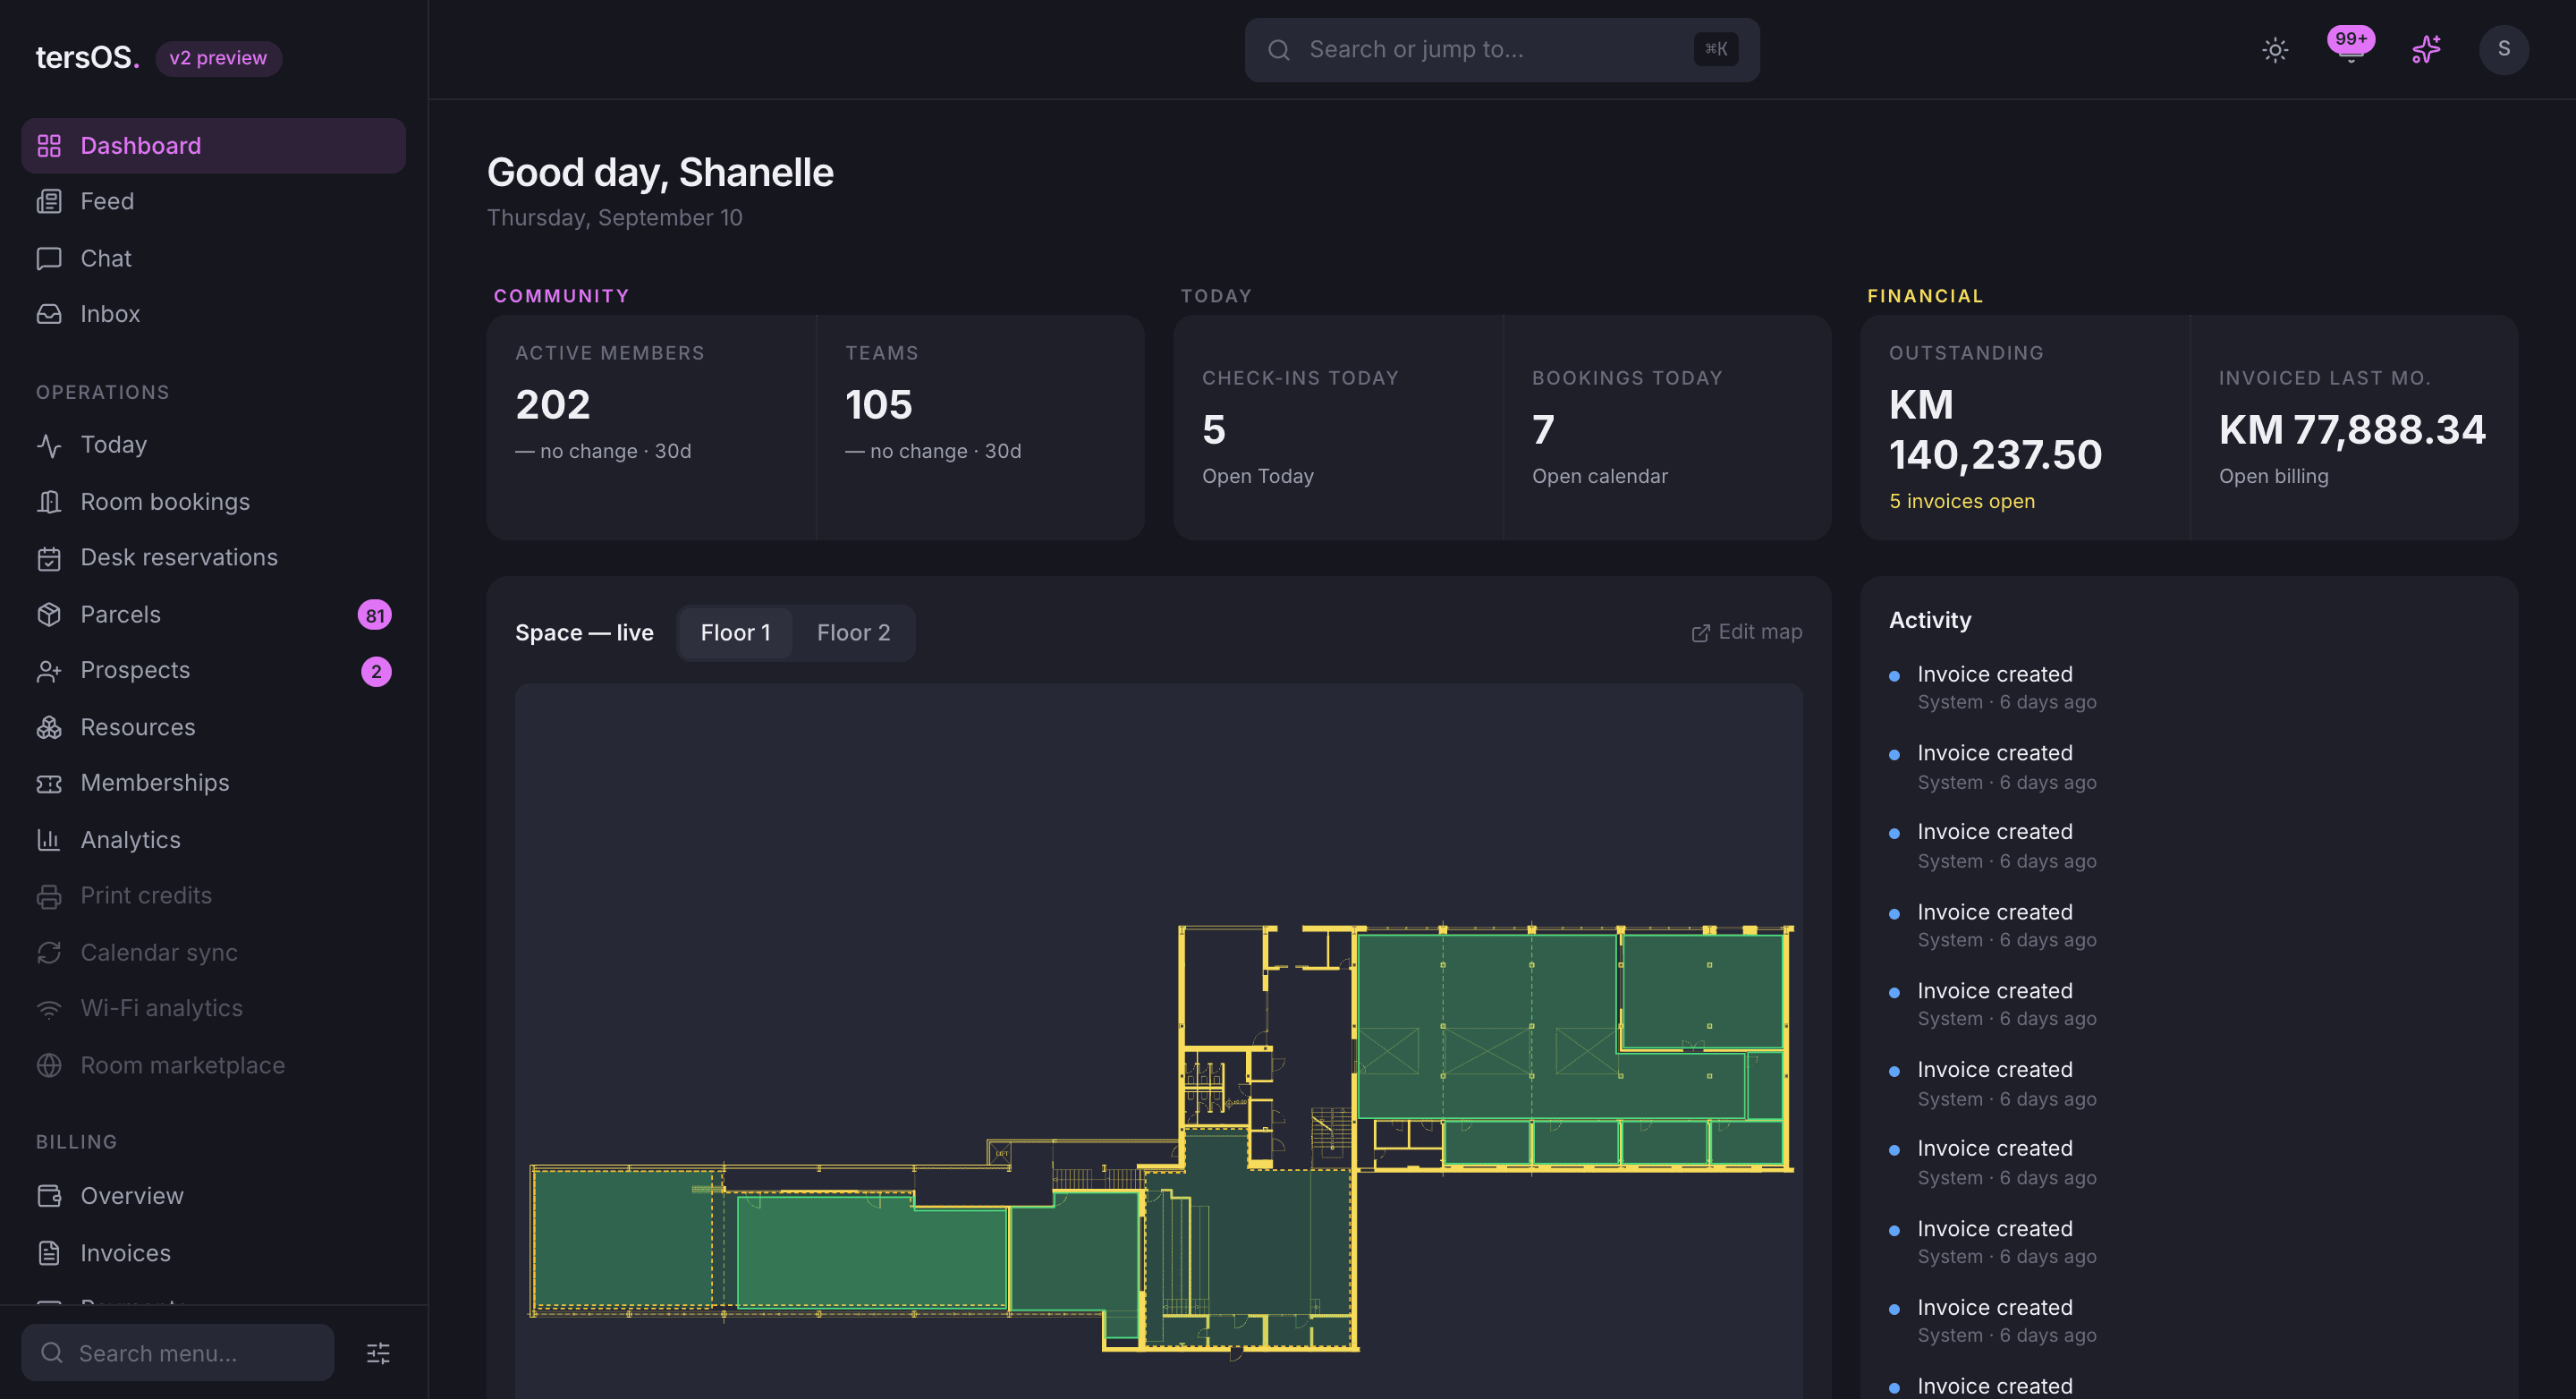
Staff sign in and the first thing they see is the live map.
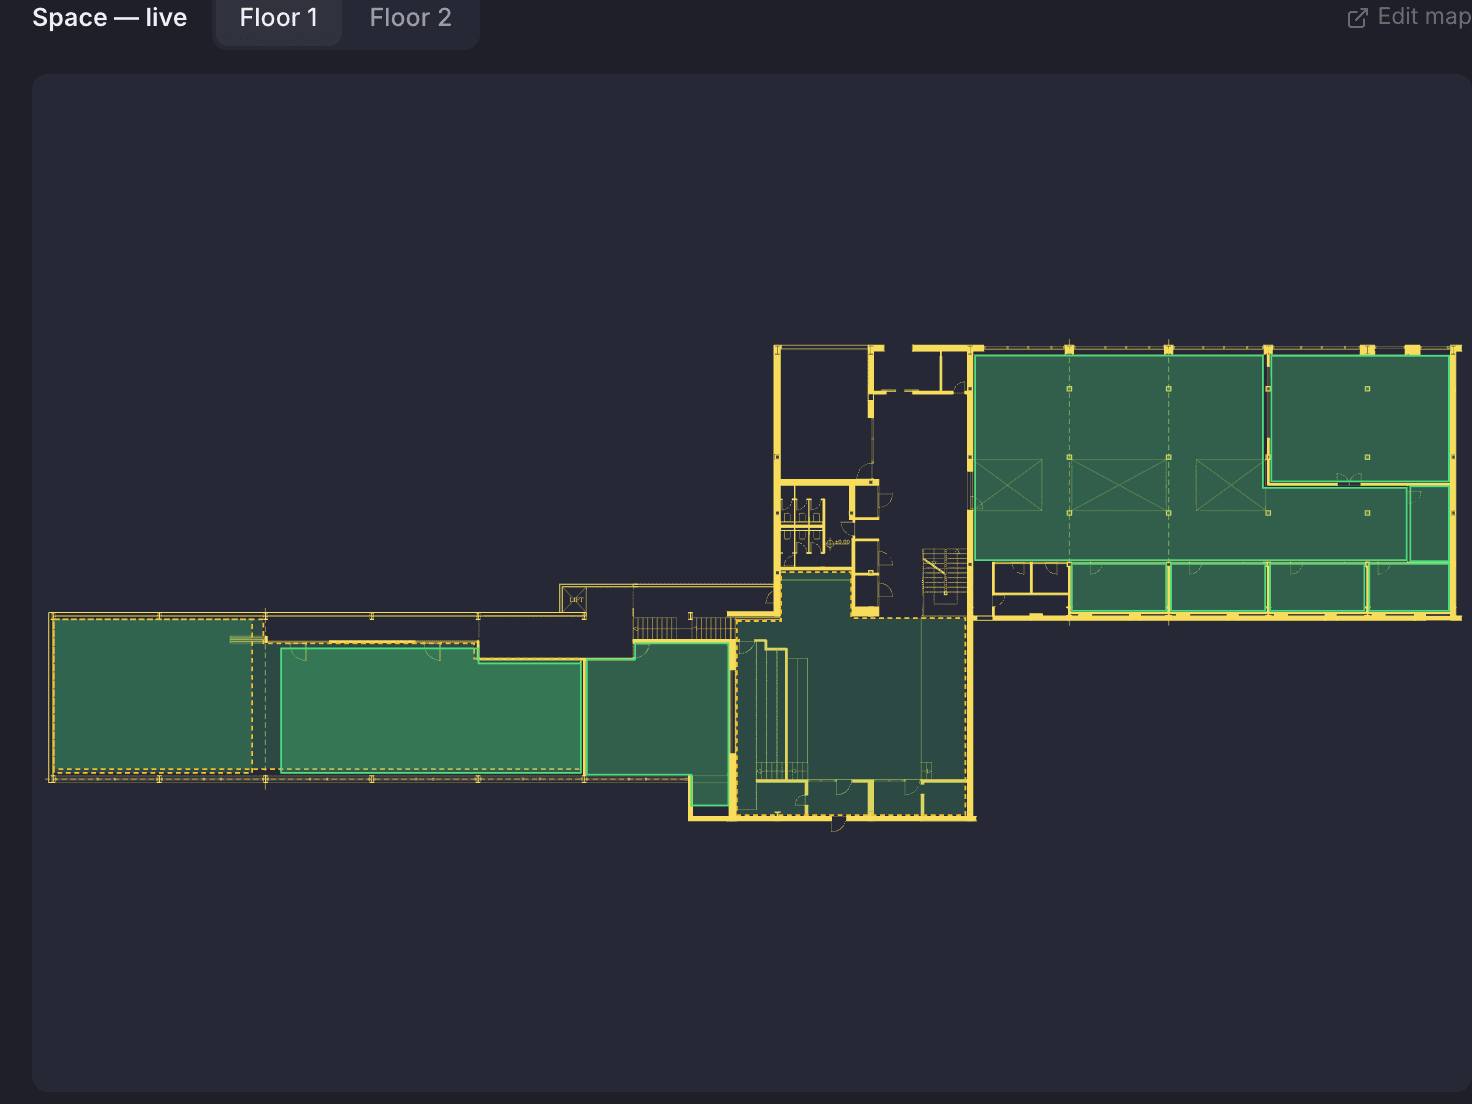
The dashboard shows the plan with a live status on every linked room: available, in use, an event on, starting soon or booked later today. Hover a room to see what is going on in it, or a desk zone for how many desks are taken. Switch floors with a tab; the map refreshes on its own.
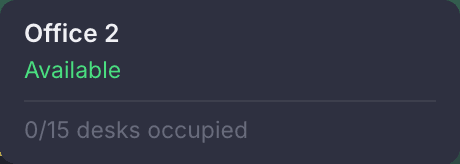
Hover a room for its status
The card names the room, its state and, for a zone, how many desks are taken.
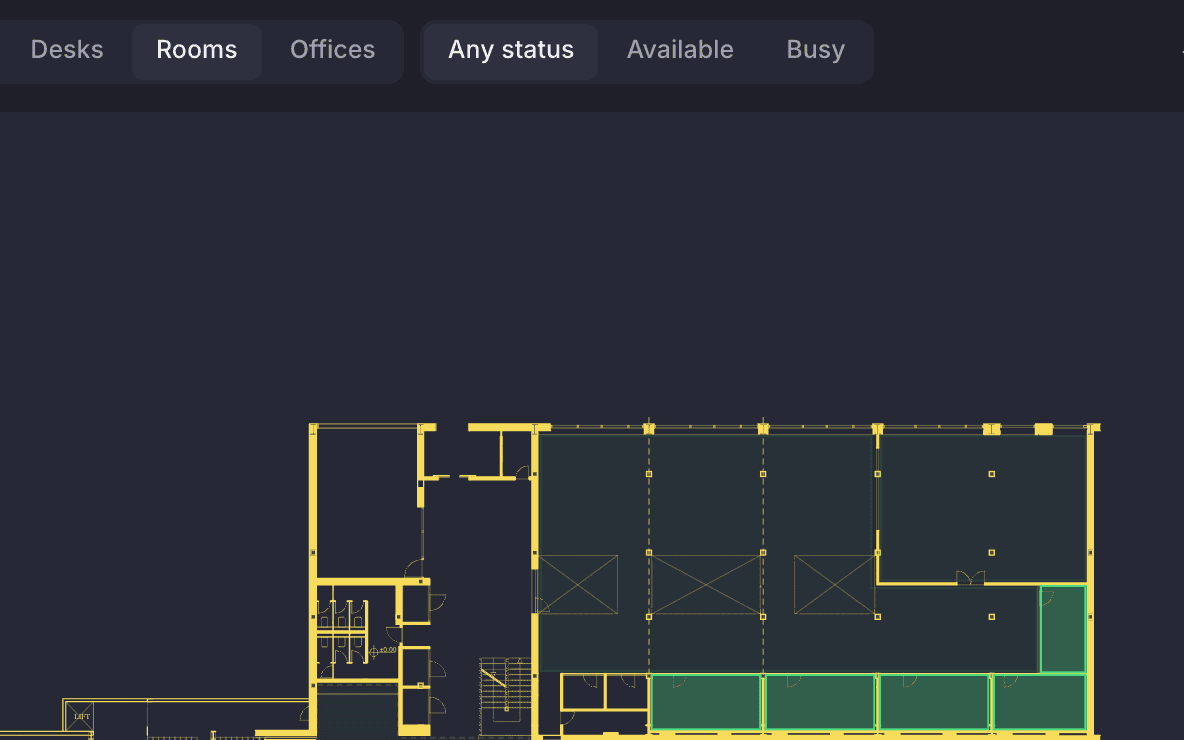
Filter to rooms, desks or offices
The type filter dims everything else; the status filter keeps only what is free or busy.
Desks
Desk zones count their desks, and each desk can be assigned to a member.
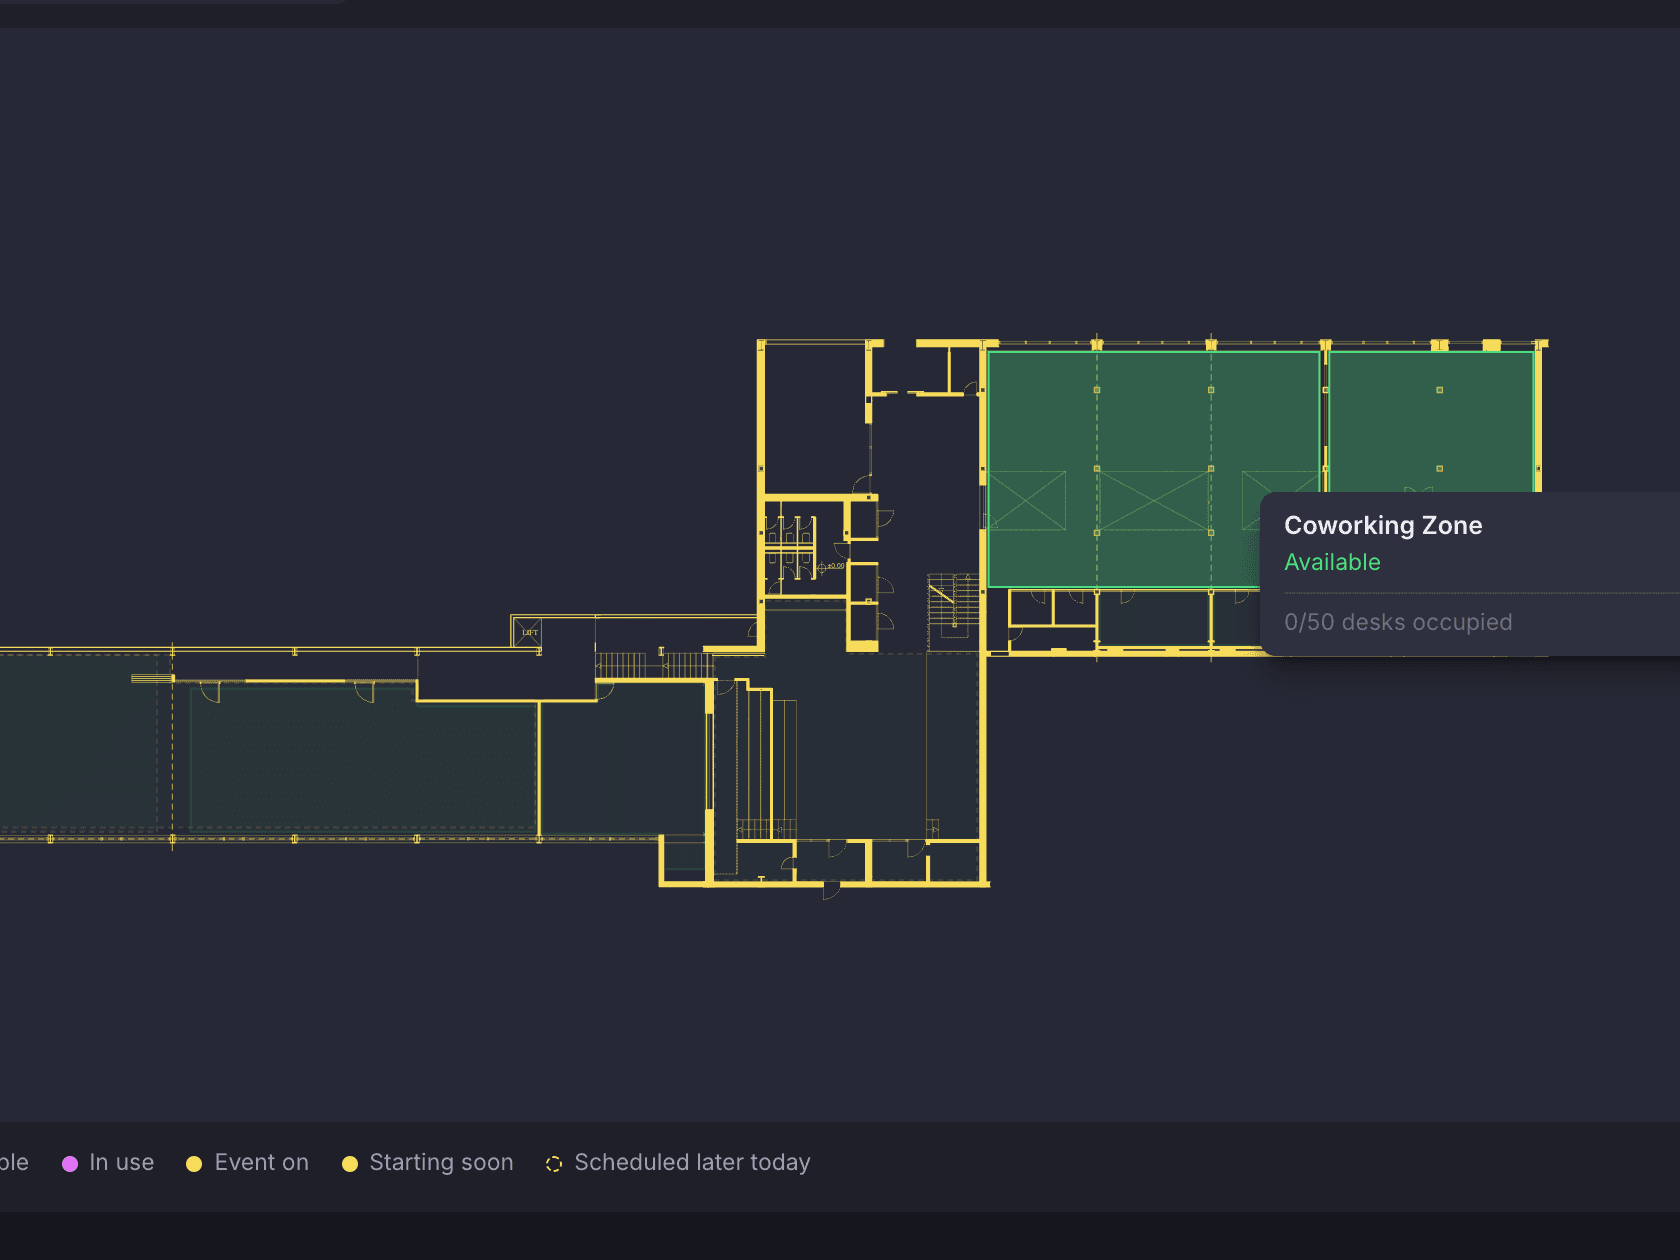
Coworking and quiet zones are shapes on the plan, and the map shows how many of their desks are taken. A desk assigned to a member stays that member’s and is never offered to flex bookers. The rest are booked by the day in the app, claimed by walk-ins and freed when someone does not show up.
The Desks filter, with a zone under the pointer.
Rooms and event spaces dim, the desk zones stay lit, and the card gives the desk count for the zone. You assign a desk to a member from the zone’s desk list in Resources.
- Dedicated desks stay with their member
- A walk-in check-in claims a desk for the day; a no-show releases it
- Members reserve flex desks for a date from the app and see which are free
Beyond the backoffice
The same plan is on your Public Hub, in the app and inside tersAI.
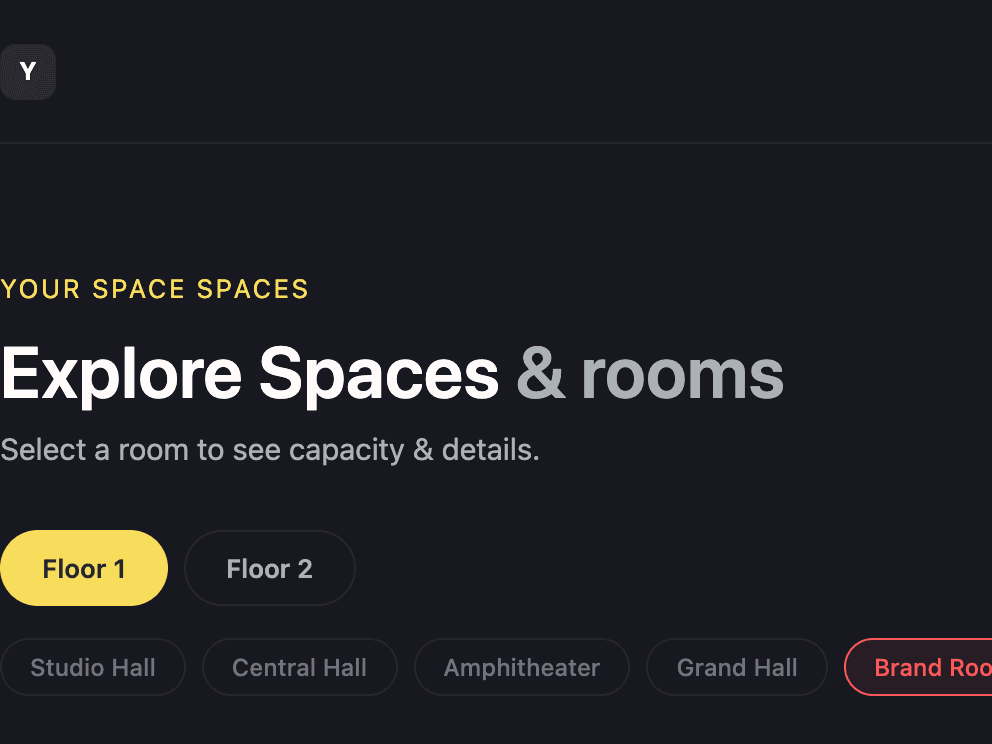
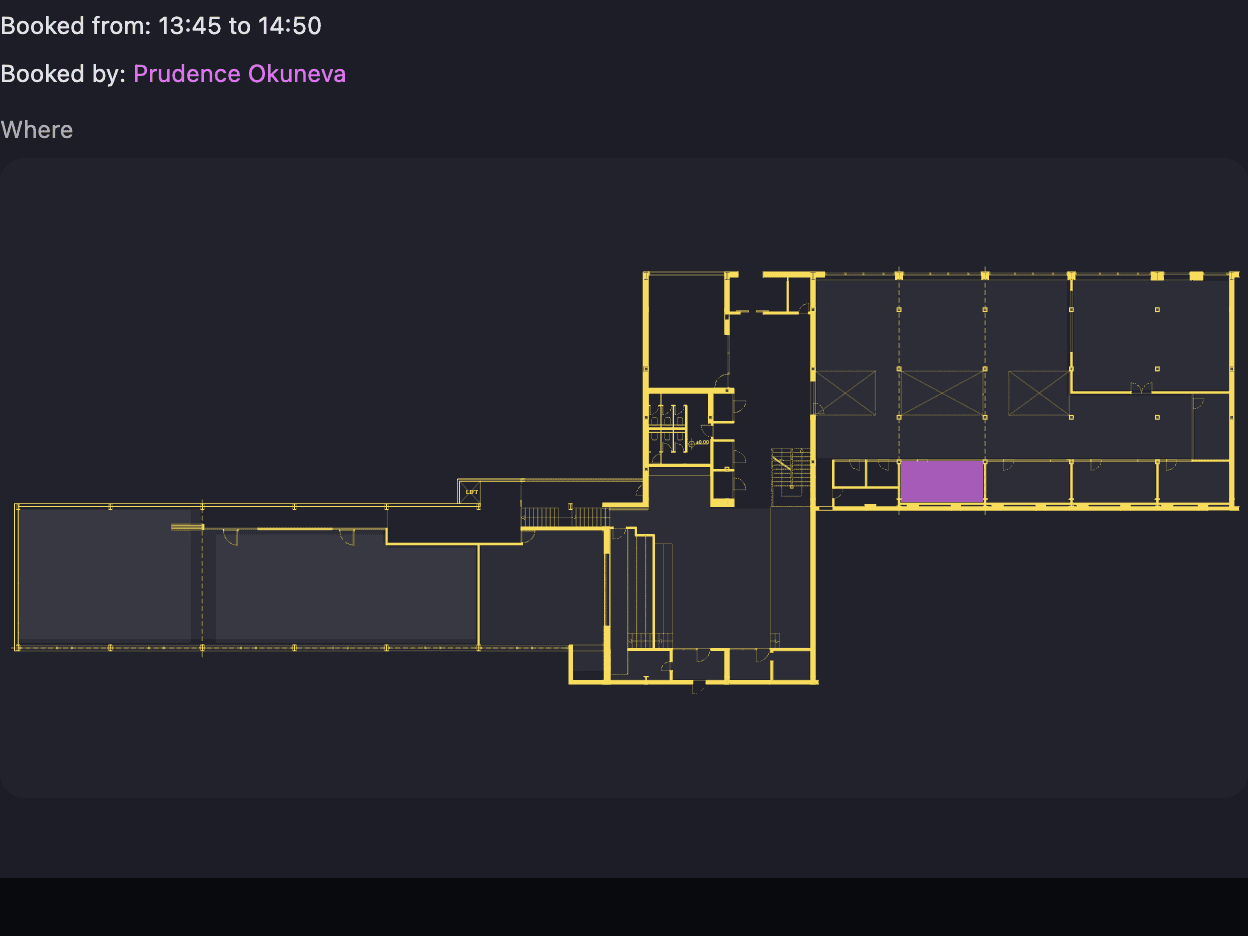
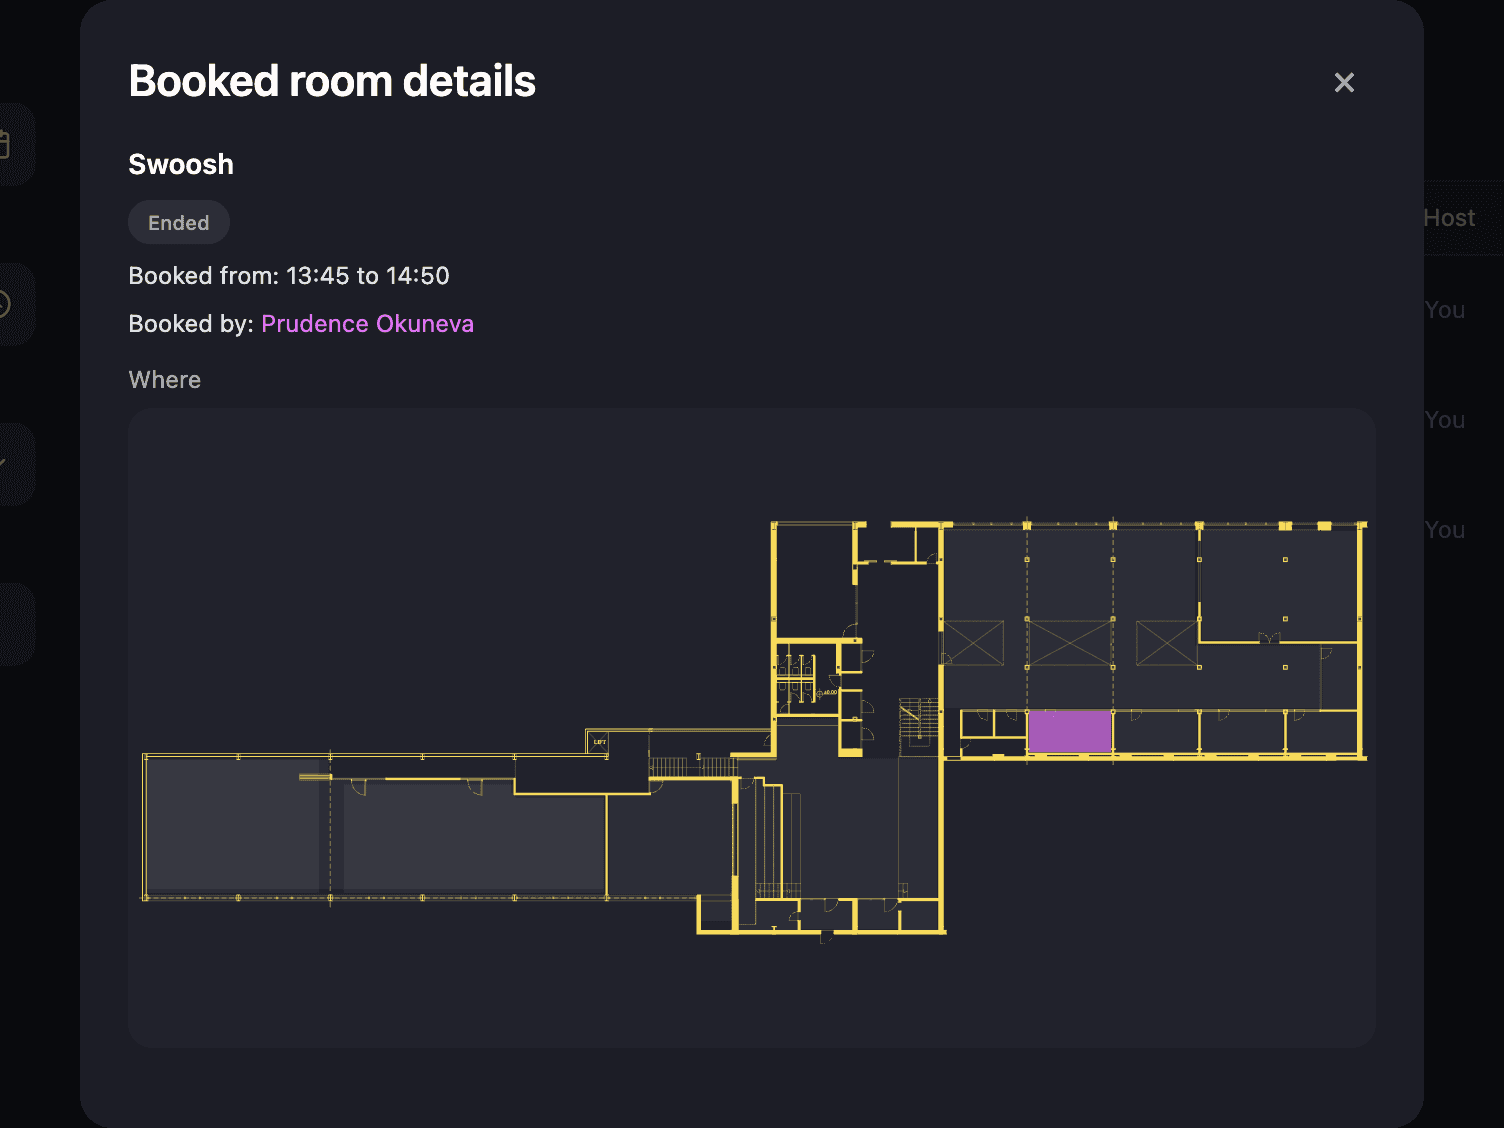
You upload each floor’s plan once and it is the same plan everywhere. Visitors browse every room across all floors on your Public Hub, with capacity and features, and no account needed. A member’s booking shows its room on the plan, and tersAI shows the map right in the chat.
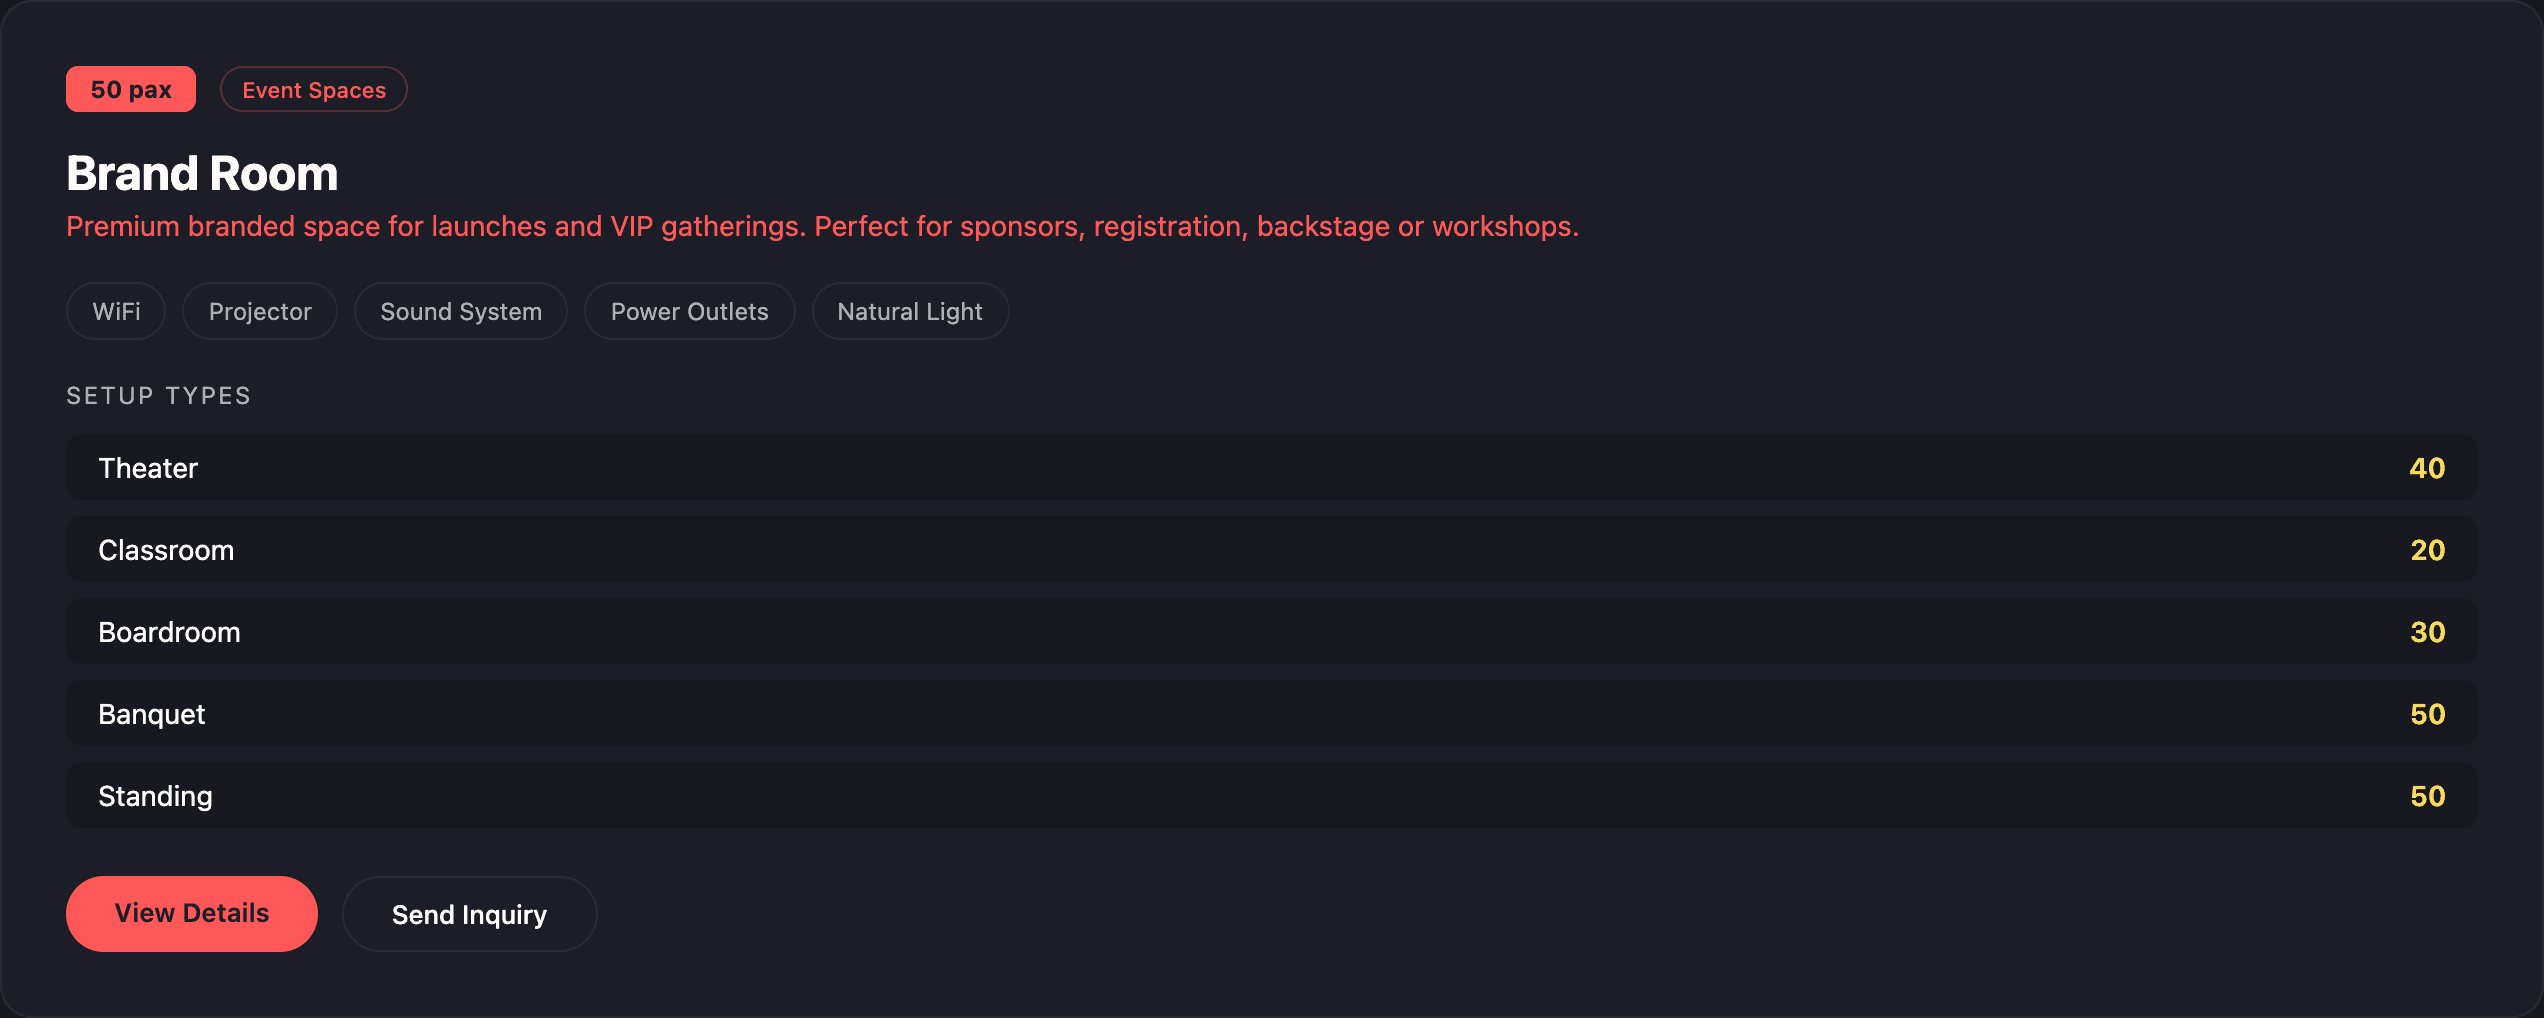
A room on the Public Hub.
Pick a room from the floor’s list and the hub shows its capacity, category and features, the setup capacities for an event space, and a way to ask about it.
- Every room across all floors, no login needed
- The same capacity, features and setups your staff see in the backoffice
- Visitors can send an inquiry about a room from its panel
Where it shows up
The same plan, wherever it is drawn.
You upload each floor’s plan once. The backoffice tints it with live status, the Public Hub lists its rooms for visitors, the Member App shows a booked room on it, and tersAI shows it in chat with the rooms that fit lit up.
Also included
The rest of what Floor Plans does.
Build
- Any number of floors, each with its own uploaded plan
- Rename a floor, replace its plan or delete it
- Link a shape to a room, desk zone, office or event space, or unlink it
- Markers drawn and placed on the plan
- Zones for coworking, offices and meeting rooms, each with its own colour
- A desk grid layout for a space that has no plan drawn yet
Watch
- Live status per floor: which rooms are in use and how many desks are taken
- Tints for available, in use, event on, starting soon and later today
- The map is the first screen staff see after signing in
- A dedicated desk is never offered to flex bookers
- A walk-in check-in claims a desk for the day; a no-show releases it
- Members reserve a flex desk for a date in the app and see which are free
Share
- The room list and the floor plan on your Public Hub, without a login
- tersAI shows the map in chat with the rooms that fit the request lit up
- Check-in and booking confirmations show the spot on the map
- Developers can reach the same data through the tersOS API
The map in chat
A member asks tersAI where to meet and gets the map back.
tersAI answers with the floor plan itself. The rooms that fit the request light up and the rest dim, a named room is centred, and when the member books one, the confirmation shows the room on the plan. The same map is on the booking in their app.
“Where can six of us meet at three?”
tersAI — Three meeting rooms seat six and are free at 15:00. Here they are on Floor 1; the rest of the plan is dimmed.
“Book Swoosh, three to four.”
tersAI — Booked: Swoosh, today 15:00–16:00. It is marked on the plan, and the booking is in your app.
a room found on the map and booked from the chat
“We know what’s happening across the space at a glance. So do our members.”The tershouse team, Sarajevo
Works with